Image may be NSFW.
Clik here to view. This past weekend, I finally had the time to start building my Reprap Prusa i3 3D Printer, which I ordered a few weeks ago from Shenzhen Sunhokey Electronics Co., Ltd. onAliexpress.com
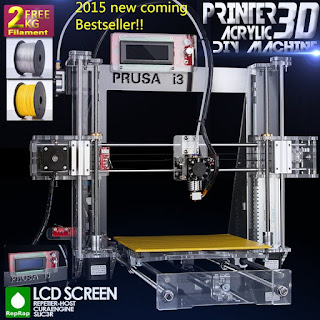
Image may be NSFW.
Clik here to view.
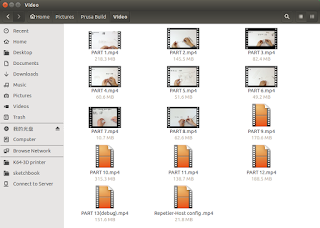
The kit came with a DVD which included about a dozen videos of the step-by-step assembly process. There is no speech in the videos, just some background music, and periodic overlay of the hardware required to assemble each step.
The videos run at a fairly leisurely pace, but yes... I did have to pause them many times to keep up.
Image may be NSFW.
Clik here to view.

Here's a sample video to show you what
the process looks like.

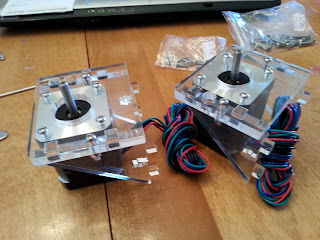
The build started fairly smoothly, with the X-axis motor block and opposite belt tensioner slider assemblies. (Yeah, I'm too lazy to look up the official names of these two components)
Image may be NSFW.
Clik here to view.![]()

My Assistant and fellow builder - Camden, found himself getting rather tired, early into the build! But, like a trooper, he put in a good couple hours. Thank you Camden.
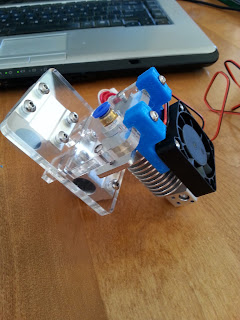
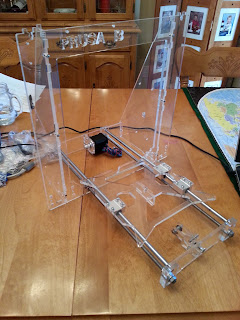
Next up, was the actual hotend carriage assembly. I'll have to admit, it was very exciting to see these pieces built first. Good jobShenzhen Sunhokey Electronics Co., Ltd.!
At first, I wasnt sure how I would feel about the transparent acrylic frame and parts, but as the build progressed, I grew rather fond of it.